

Docs Start
Getting Started
On this page
yoshida makes many cards from one layout. You describe the card once (the design), list what differs from card to card (the card data), and get one image per card.
This page takes about five minutes and needs nothing installed. To run yoshida on your own computer instead, see Installation.
1. Open the editor
Open the editor. It runs in your browser and keeps your work there; nothing is uploaded (Saving, Images and Privacy).
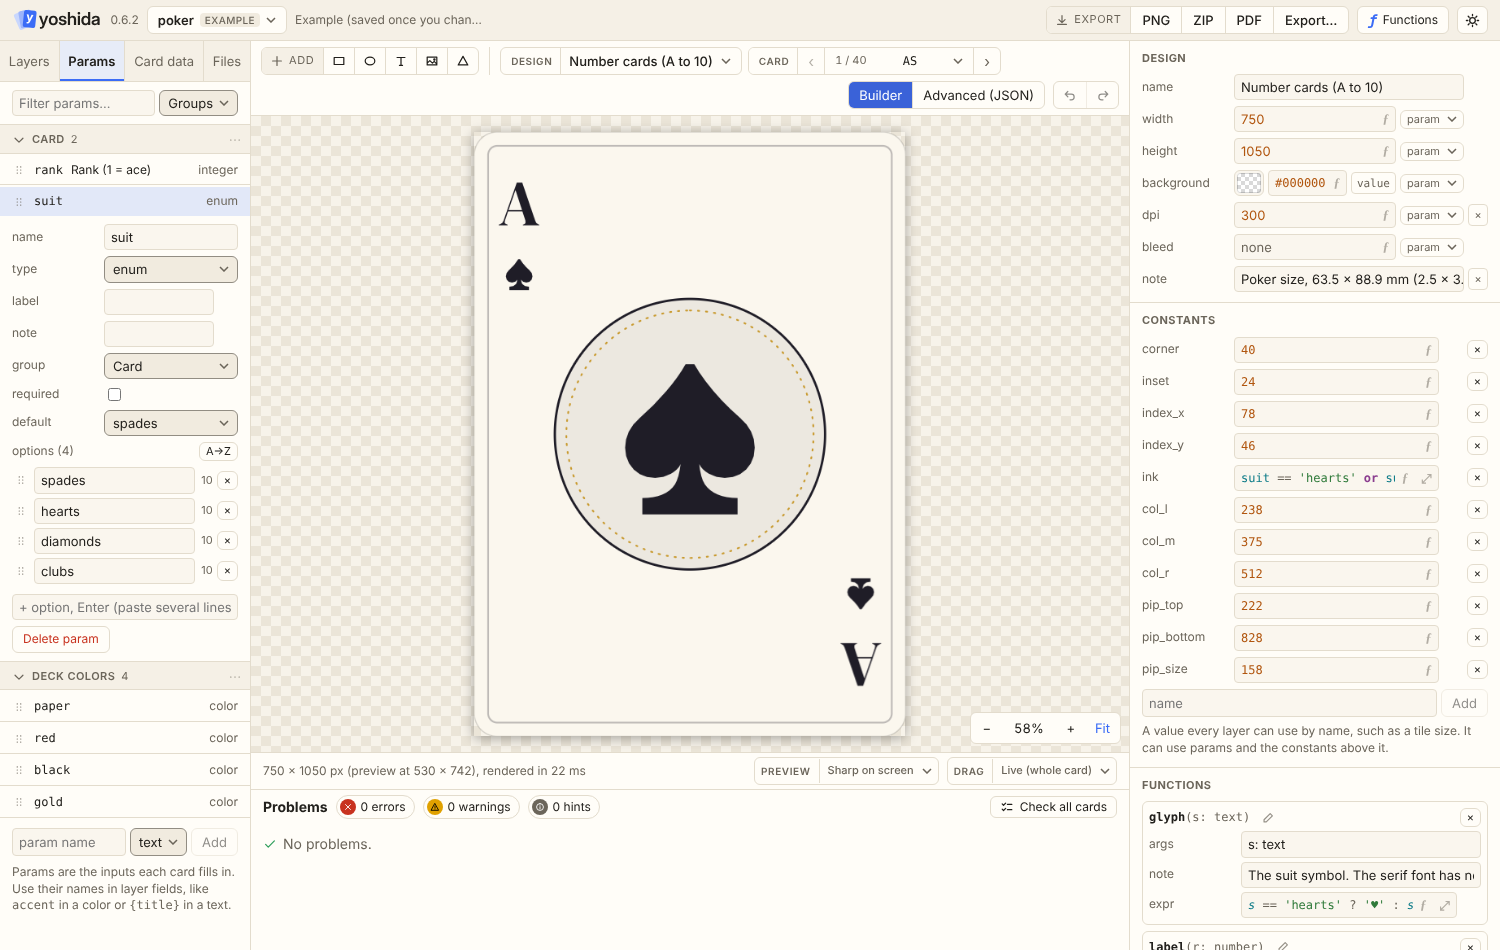
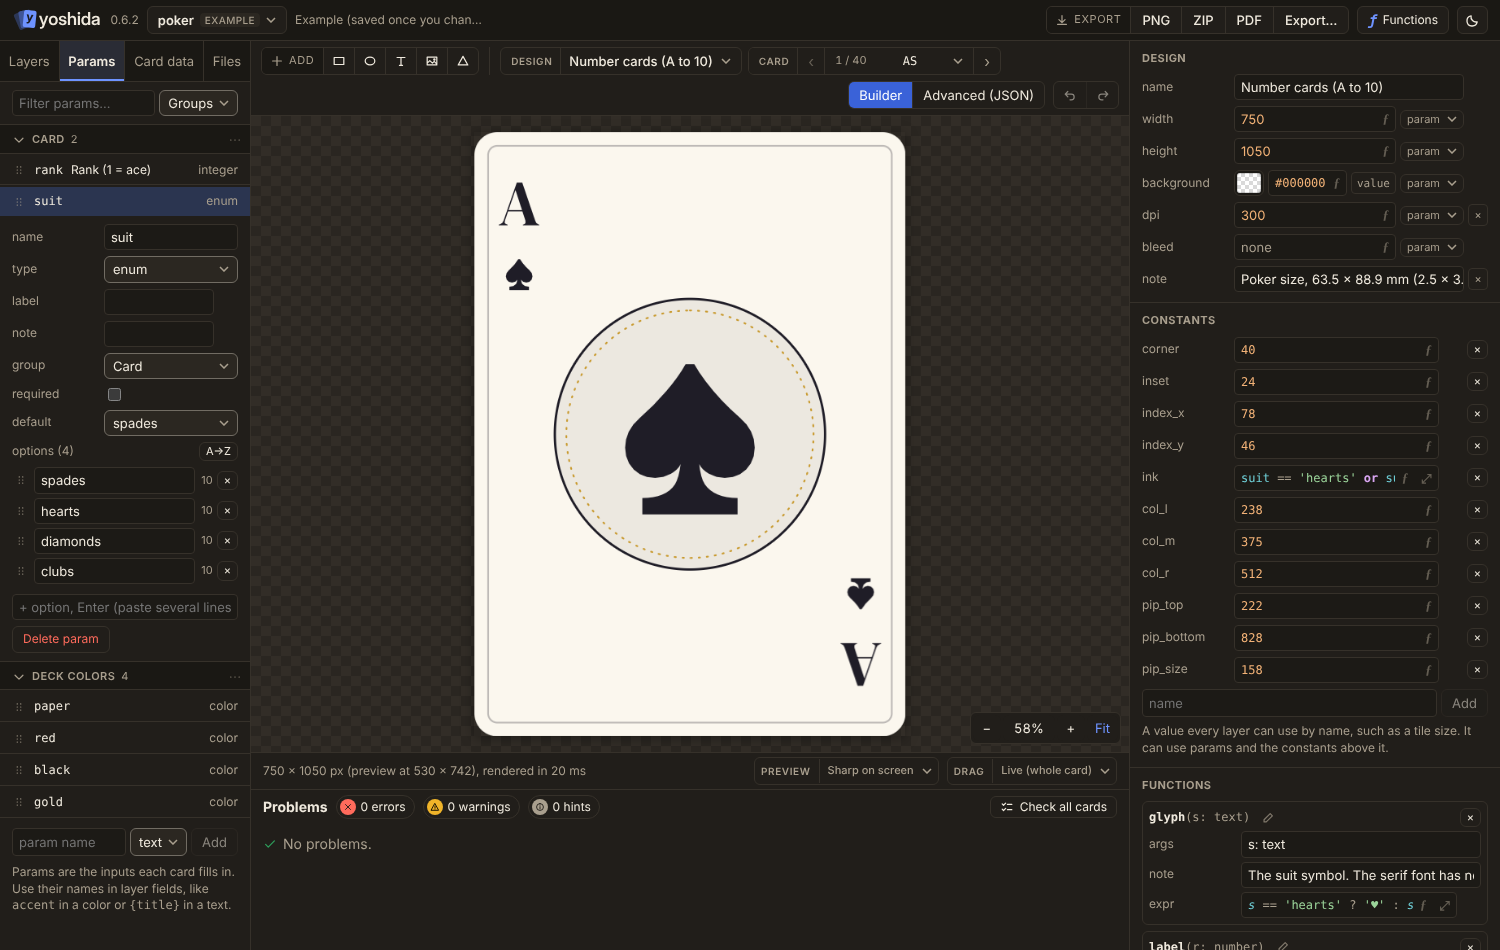
A fresh editor shows the Poker deck example. The project menu (the project's name in the top bar) has the other examples; Forge card game is the best one to start with, because it is small and uses most of what a card game needs.
2. Change a card
- Click a layer on the canvas, or in the Layers tab on the left. The inspector on the right shows its fields.
- Change a value, for example a colour or a text size. The preview follows as you type.
- Use the Card picker in the toolbar to step through the cards. Every card uses the same layers with its own values.
- Open the Card data tab and change a card's text, or add a card. That is all a new card takes.
A field can hold a formula instead of a fixed value, such as cost > 3 ? #C0392B : #2B5876. The Problems panel below the canvas tells you what is wrong and where, as you type.
3. Export
- PNG exports the card you see.
- ZIP exports every card of the set as PNG files.
- PDF exports the set as one print file, with crop marks when the design has a bleed.
- Export project file in the project menu saves the whole project as one
.yoshidafile. Open it again later, share it, or unzip it and render it with the command line.
More about the editor: Builder.
4. Make a design from scratch
A project is a folder of plain files, and the editor and the command line read the same ones. The smallest project is one design:
hello/
  designs/hello.design.json
{
"format": 1,
"name": "Hello",
"canvas": { "width": 600, "height": 400, "background": "#1E1E28" },
"params": {
"title": { "type": "text", "default": "Hello" }
},
"layers": [
{
"id": "headline",
"type": "text",
"text": "{title}",
"at": { "x": "50%", "y": "50%" },
"anchor": "center",
"size": 72,
"color": "#FFFFFF"
}
]
}params are the values a card can set, and {title} puts one into the text. To make several cards, add card data as cards/hello.cards.json:
{
  "format": 1,
  "design": "designs/hello.design.json",
  "cards": [
    { "id": "en", "title": "Hello" },
    { "id": "ja", "title": "こんにちは" }
  ]
}
(The default font is Lato, which has no Japanese glyphs. Declare a font that has them under fonts; see Designs and warning 4003 in Diagnostics.)
In the editor, the project menu starts a new project, and the Files tab holds these same files. Card data can also be a CSV file from a spreadsheet: Card Data.
5. Render on the command line
With the release zip unpacked:
yoshida check hello                 # every problem, with file, line and a hint
yoshida render hello --out out      # out/hello/en.png and out/hello/ja.png
In the release zip the program is in bin/<your system>/, for example bin/x86_64-linux/yoshida. The same works for the examples: yoshida render examples/forge --out out. All options: Command Line.
Where to go next
- See what a design can do, with a snippet for each feature: Feature Tour.
- Take a finished project apart: Examples.
- Learn the format from the top: Project Layout and Manifest, Designs, Params, Layers, Expressions.
- Something went wrong: Diagnostics.