
Docs Builder
Builder
On this page
The editor opens in Builder mode: a visual editor for designs and card data. Everything it does is written back to ordinary project files, so the JSON is always one click away under Advanced (JSON), for anything the builder does not cover (a code editor with JSON highlighting, folding, search, bracket matching and problem markers).
Screen layout
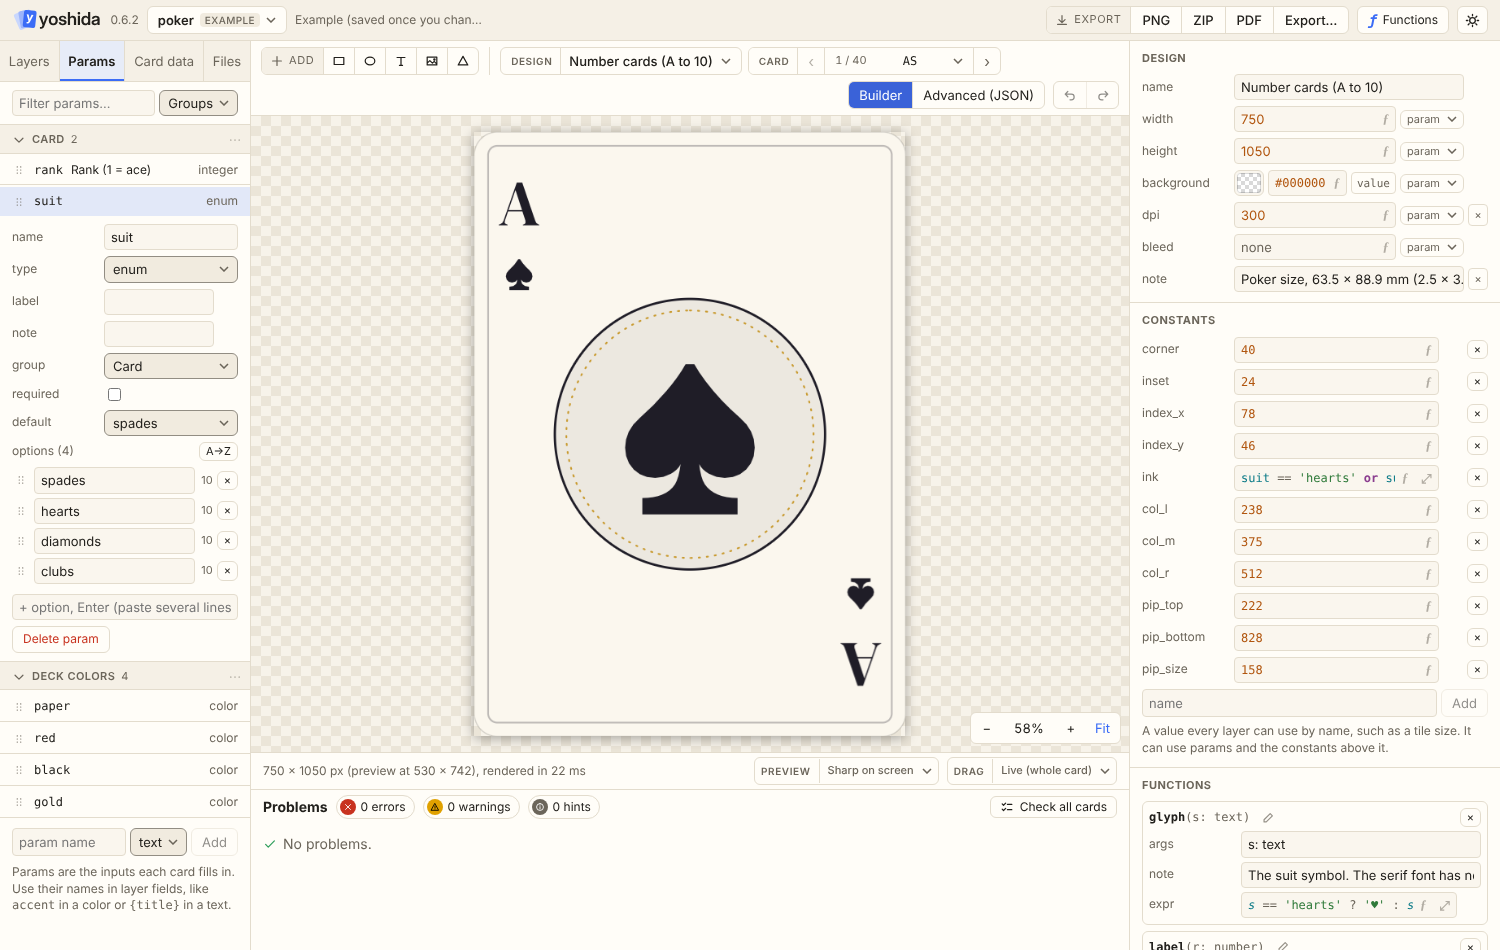
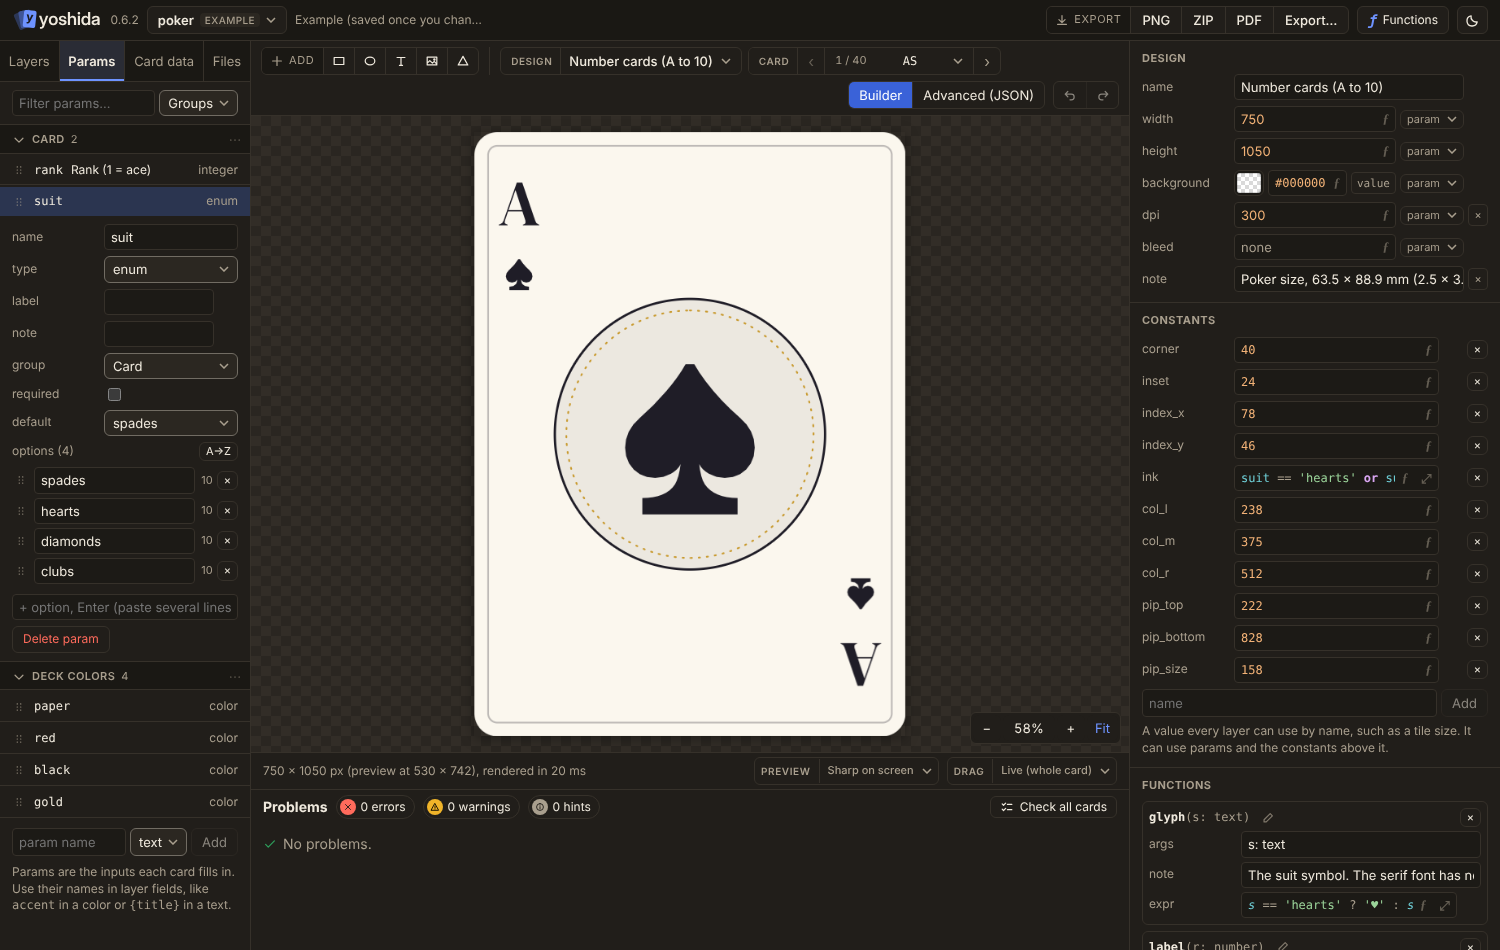
| Area | What it is | Page |
|---|---|---|
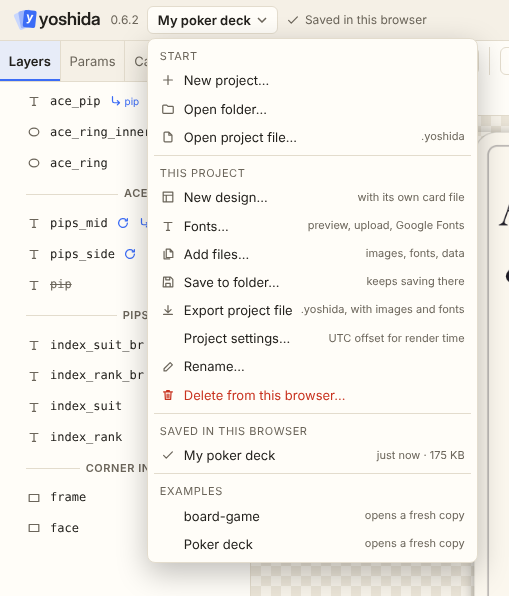
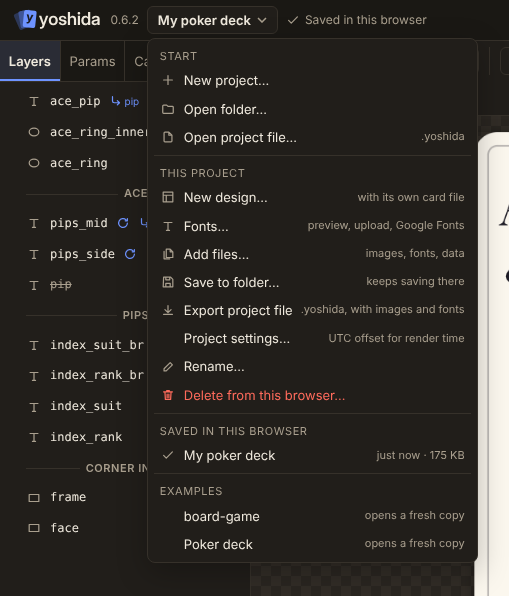
| Top bar | The project menu (new, open, New design, Add set, Add files, Save to folder, Export project file, rename, saved projects, examples), whether it is saved, Builder / Advanced (JSON), undo and redo, Save (when a folder is linked), the theme | Saving, Images and Privacy |
| Toolbar | Add a layer, pick the Design and the Card, Export as PNG, ZIP or PDF, the Export… dialog, Render on server (when the server offers it) | below |
| Left panel | Layers, Params, Card data, Files tabs | Layers, Params, Card data, Files |
| Canvas | The live card with selection, move, resize, rotate | Canvas |
| Right panel | The inspector for the selected layer, or the design settings | Inspector |
| Problems panel | Every error, warning and hint, and Check all cards | Problems |
Every panel can be resized: drag the lines between the left panel, the canvas, the right panel and the problems panel (in Advanced view: the files, editor and preview columns). Double-click a line to reset it. Sizes are remembered in the browser. Dialogs and the card browser move by their title bar and resize from the corner.
Toolbar
- Add a layer: rect, ellipse, text, image or polygon. The new layer is centred and placed above the selected layer.
- Design picks the design being edited (with its card count and card file). With several groups (a set's
groupin the manifest, by default its design) the list has a heading per group, and a project with more than four sets gets a filter box. New design… in the project menu creates a blank design with its own card file. - Card picks the card shown in the preview. The arrows step through the cards; the middle opens a searchable list that stays fast with thousands of cards. At its bottom, Browse opens the card browser.
- Export: PNG exports the card you see; ZIP exports all cards of the set as PNG files; PDF exports all cards of the set as one PDF, one page per card, with crop marks when the design has a
canvas.bleed. The pages are drawn as vectors, so shapes and text stay sharp at any zoom and the file is small; the Export… dialog can make pages as images instead (see SVG and vector PDF). - Export… opens the export dialog for everything else: other formats, a higher resolution, crop marks, or every design at once.
- Render on server appears when the editor is served by
yoshida-serverwith rendering on. Switched on, ZIP and PDF are rendered by the server instead of the browser (see Server and Docker). PNG always renders in the browser.
While an export or a check runs, a progress window covers the editor (the editor behind it is blurred): the steps, how many cards are done, the time left (from the average time per card so far; for a PDF rendered in the browser it is an estimate from the last export) and an activity log. Cancel stops a ZIP export, an export from the dialog, or a server render. When something fails, the window stays open with the reason until you close it.
Export dialog
Export… at the end of the export buttons opens a dialog. Enter exports, Escape closes it; when a typed value is out of range (a quality above 100, a dpi the designs cannot reach), the first Enter puts the nearest one in the field and the next exports. It remembers its settings in this browser. A format's settings show while the format is chosen; the others show what they are for.
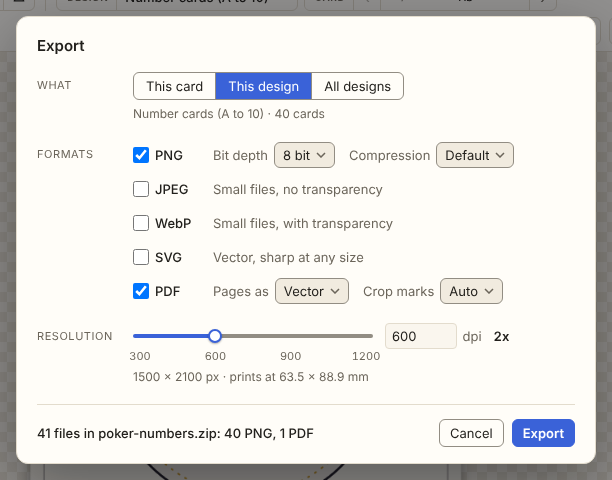
- What: This card, This design (all its cards) or All designs (every design of the project; designs with errors are skipped and named in the dialog). The line below says which card or design, and how many cards. When the design in view has errors, the dialog starts with All designs.
- Formats, one or more:
- PNG: Bit depth 8 bit or 16 bit per channel (16 bit keeps smooth gradients for print and editing, in files about twice as large; PNG has no 10 bit mode), and Compression: Fast, Default (what the PNG button uses) or Smallest. The pixels are the same at every level; only the file size and the time change.
- JPEG: Quality 1 to 100 (default 90): the slider moves in steps of 5, the field next to it takes any value. JPEG has no transparency, so transparent parts are shown on the Background color (default white). The file carries the dpi of the export (the design's dpi times the scale), so it prints at the design's size.
- WebP: Quality 1 to 100 (default 90, a slider and a field like JPEG's), or Lossless, offered where the browser writes true lossless WebP (Chrome and Edge do; the dialog checks). Offered when the browser can write WebP; the dialog says so when it cannot. WebP files carry no dpi.
- SVG: one vector file per card, sharp at any size, with text as letter outlines and the printed size when the design has a
canvas.dpi(see Command Line: SVG). - PDF: one PDF per design, one page per card. Pages as: Vector (the default: shapes and text stay sharp at any size, and the file is much smaller) or Image (each card as an image, like the PNG). The PDF button makes vector pages. Crop marks: Auto (when the design has a
canvas.bleed, like the PDF button), On or Off. - Sheet: the cards of a design tiled left to right, top to bottom into one PNG, a deck image for a tabletop simulator. Columns and Rows set the grid (10 x 7 to start with, 1 to 100 each). A design with more cards than one sheet holds gets several,
<design>-1.png,<design>-2.pngand so on; every sheet has the full grid, with empty cells transparent. A sheet can be at most 20000 pixels on each side; the dialog says so when the grid or the resolution makes it larger. It is the same file asyoshida render --sheetwrites.
- Resolution: a slider from 1x (the design's own size) to 4x in quarter steps (the arrow keys move a step, Page Up and Page Down jump to the next whole multiple). For a design with a
canvas.dpi, the slider's marks show dpi (300, 600, 900 and 1200 for a 300 dpi design) and a field next to it the dpi the slider gives. Type a dpi to target it: 600 on a 300 dpi design is 2x, 450 is 1.5x. The field takes the design's own dpi up to four times it and shows that range when a typed dpi is outside. Below, the size in pixels and the printed size, which does not change: PNG and JPEG files carry the dpi, SVG files and PDF pages keep their size. With acanvas.bleed, the size inside the bleed (where the card is cut) is shown as the trim size.- With only SVG and vector PDF chosen, the resolution folds into one line: they use it only for the parts that stay pixels (layers with a
sharpen,detail,edge_enhanceorfind_edgeseffect). Change opens the slider. - With All designs and designs of different dpi, a line under the slider chooses between same dpi and same scale. Same dpi gives each design the scale that reaches the dpi (a 400 dpi design at 600 dpi is 1.5x; a design without a
canvas.dpistays at 1x). Same scale renders every design at the slider's scale, so their dpi differs. Typing a dpi picks same dpi, moving the slider picks same scale. When the designs come out differently, a table lists the size of each, with the scale and the dpi where they differ; designs that come out the same share a row. - A side of an image can be at most 10000 pixels (see Limits). The slider marks the part of its track over the limit, and when a design goes over, the dialog names it, turns Export off and offers the highest resolution that fits (Use 2x, the largest that fits, or a dpi). SVG and vector PDF have no such limit.
- With only SVG and vector PDF chosen, the resolution folds into one line: they use it only for the parts that stay pixels (layers with a
One file (one card in one format, or one PDF) downloads as it is. Anything more is one ZIP: card images at <design>/<card id>.<ext> and PDFs at <design>.pdf, named <project>-<design>.zip for one design and <project>.zip for all designs. The line next to the Export button says what will be written, for example "80 files in poker-numbers.zip: 40 PNG, 40 JPEG", or why nothing can be exported yet (no format chosen, a design over the pixel limit).
JPEG and WebP are made by the browser's own image encoders, from the pixels yoshida renders. With Render on server on, PNG, SVG and PDF files of whole designs are rendered on the server, one request per design and format; JPEG and WebP still render in the browser (the server has no JPEG or WebP encoder, and downloading PNGs only to convert them would cost more than it saves). This card always renders in the browser. When the editor comes from yoshida-server with rendering on, the dialog has the Render on server switch under Rendering; it is the same setting as the switch next to the export buttons, and the line below it says what runs where.
Hovering a button or a field shows what it does in a tooltip drawn like the expression suggestions.
How edits are written
- The builder changes the parsed design and writes it back with the canonical formatter, so the JSON view always matches.
- Every property field takes a literal or an expression. Number labels can be dragged sideways to scrub the value. The
value/exprswitch turns colors and booleans into an expression. Theparammenu binds a field to a param of the right type (accent, or{title}in text). Colors use a built-in picker (saturation/value square, hue, alpha, hex). - All dialogs, menus and dropdowns are drawn by the editor in its own light or dark theme; there are no browser
prompt/confirmboxes or native<select>lists. - Canvas moves and resizes keep how a value is written:
120stays a number,50%stays a percentage,@panel.bounds.top + 60becomes@panel.bounds.top + 70, and any other expression gets+ 10appended (in parentheses when needed). Resizing moves the anchor point by the right amount for the layer'sanchor. - Fields a layer inherits through
extendsare marked with ↳; editing one adds an override to this layer. - Renaming a layer updates every
@idreference andextends. Renaming a param updates every layer field and every card file of the design, in one undo step. - While the design has errors, the last good picture stays on the canvas, dimmed, and the problems show next to the fields they belong to.
- Undo and redo cover builder, card form and text edits. A drag, a scrub or a run of nudges is one step, and a param rename across several files is one step too.
Pages
- Canvas: selecting, moving, resizing, rotating, snapping, zoom and pan
- Layers: the layer tree, groups, dividers, the layer menu
- Inspector: fields, align and distribute, design settings
- Fonts: finding, previewing and importing fonts, and their licenses
- Params: editing params, groups, enum options
- Card data: the card list, the form, the browser
- Files: the project's files, uploads, renames
- Problems: the problems panel
- Expression editor: highlighting, completion, reference
- Shortcuts